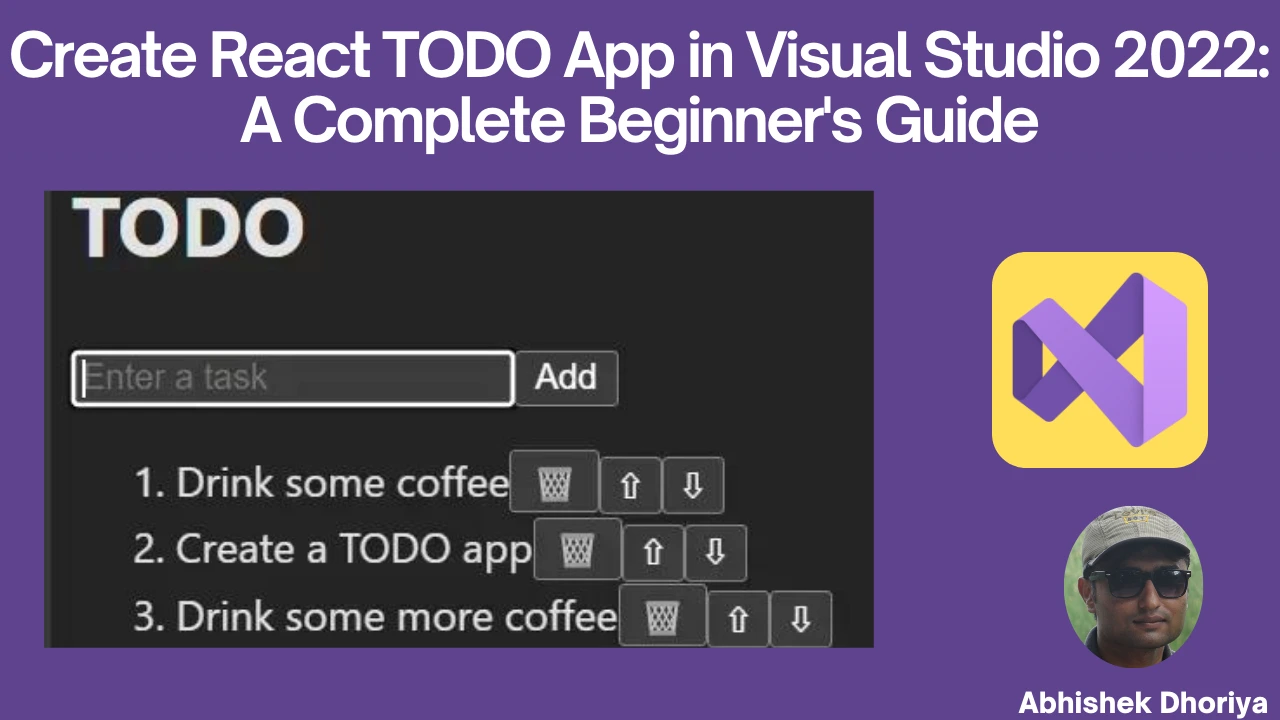
Developing a React TODO app in Visual Studio 2022 is an excellent way to get started with frontend development. This comprehensive guide will walk you through each step in simple, easy-to-understand language, ensuring you’re equipped to create a fully functional TODO application. We’ll cover everything from setting up your development environment to adding components and styling your app.
Introduction to React TODO App in Visual Studio 2022
React is a popular JavaScript library for building user interfaces, particularly single-page applications where you need a responsive and dynamic view. Visual Studio 2022 offers a powerful, integrated environment for professional React development. By the end of this tutorial, you’ll have your first TODO app up and running.
Why Choose Visual Studio 2022 for React Development?
Visual Studio 2022 is a comprehensive IDE that supports various programming languages and frameworks. It comes with sophisticated debugging tools, built-in Git support, and an array of plugins that make it an excellent choice for React development.
Setting up Your Development Environment
Prerequisites
Before we dive in, ensure you have installed:
Step 1: Installing Node.js
Node.js is required to run and manage JavaScript packages. Download and install it from the official Node.js website.
Step 2: Setting up Visual Studio 2022 for React
- Open Visual Studio 2022.
- Go to the “Create a new project” option.
- Search for the React template and select “JavaScript with React.js”.
- Click “Next” and follow the prompts to name your project and choose its location.
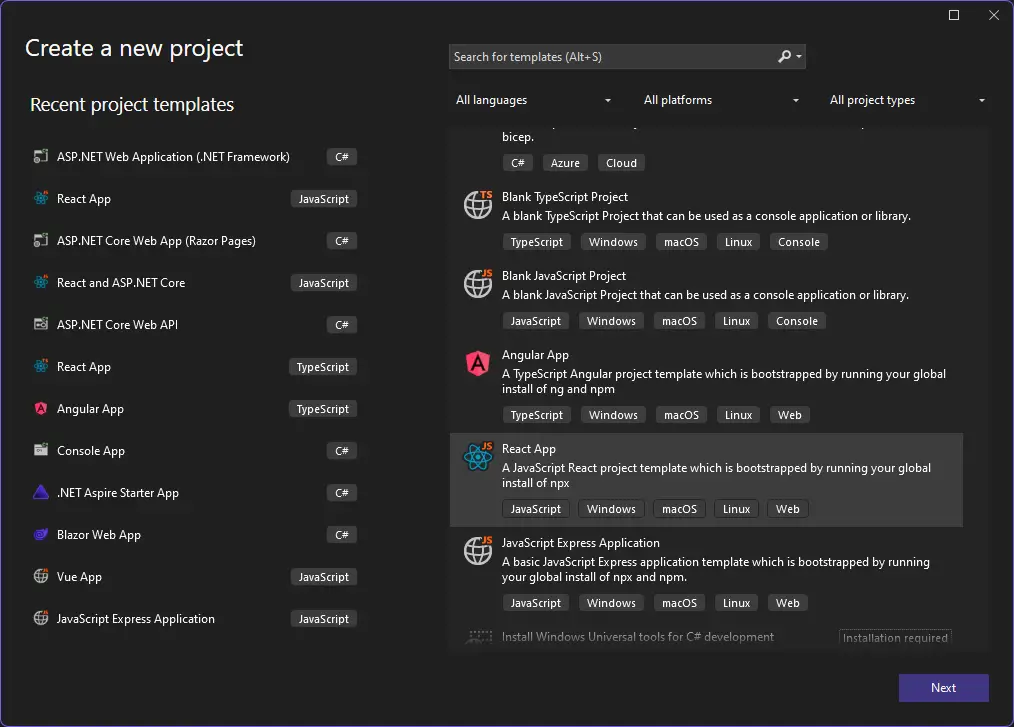
Step 3: Initializing the React Project
- Open the terminal in Visual Studio.
- Use the command:
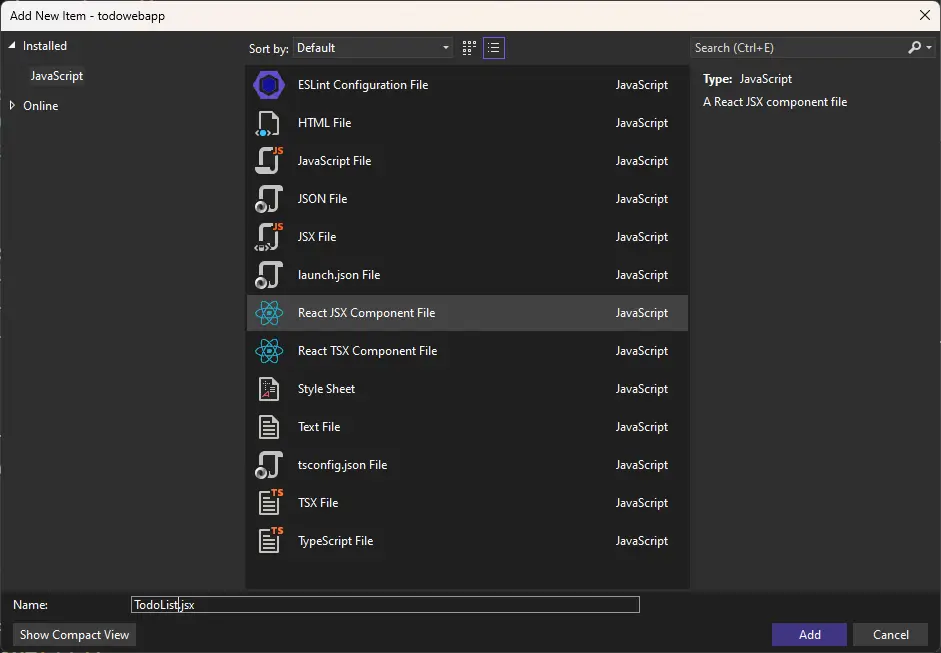
npx create-react-app my-todo-app- Navigate into your project folder:
cd my-todo-app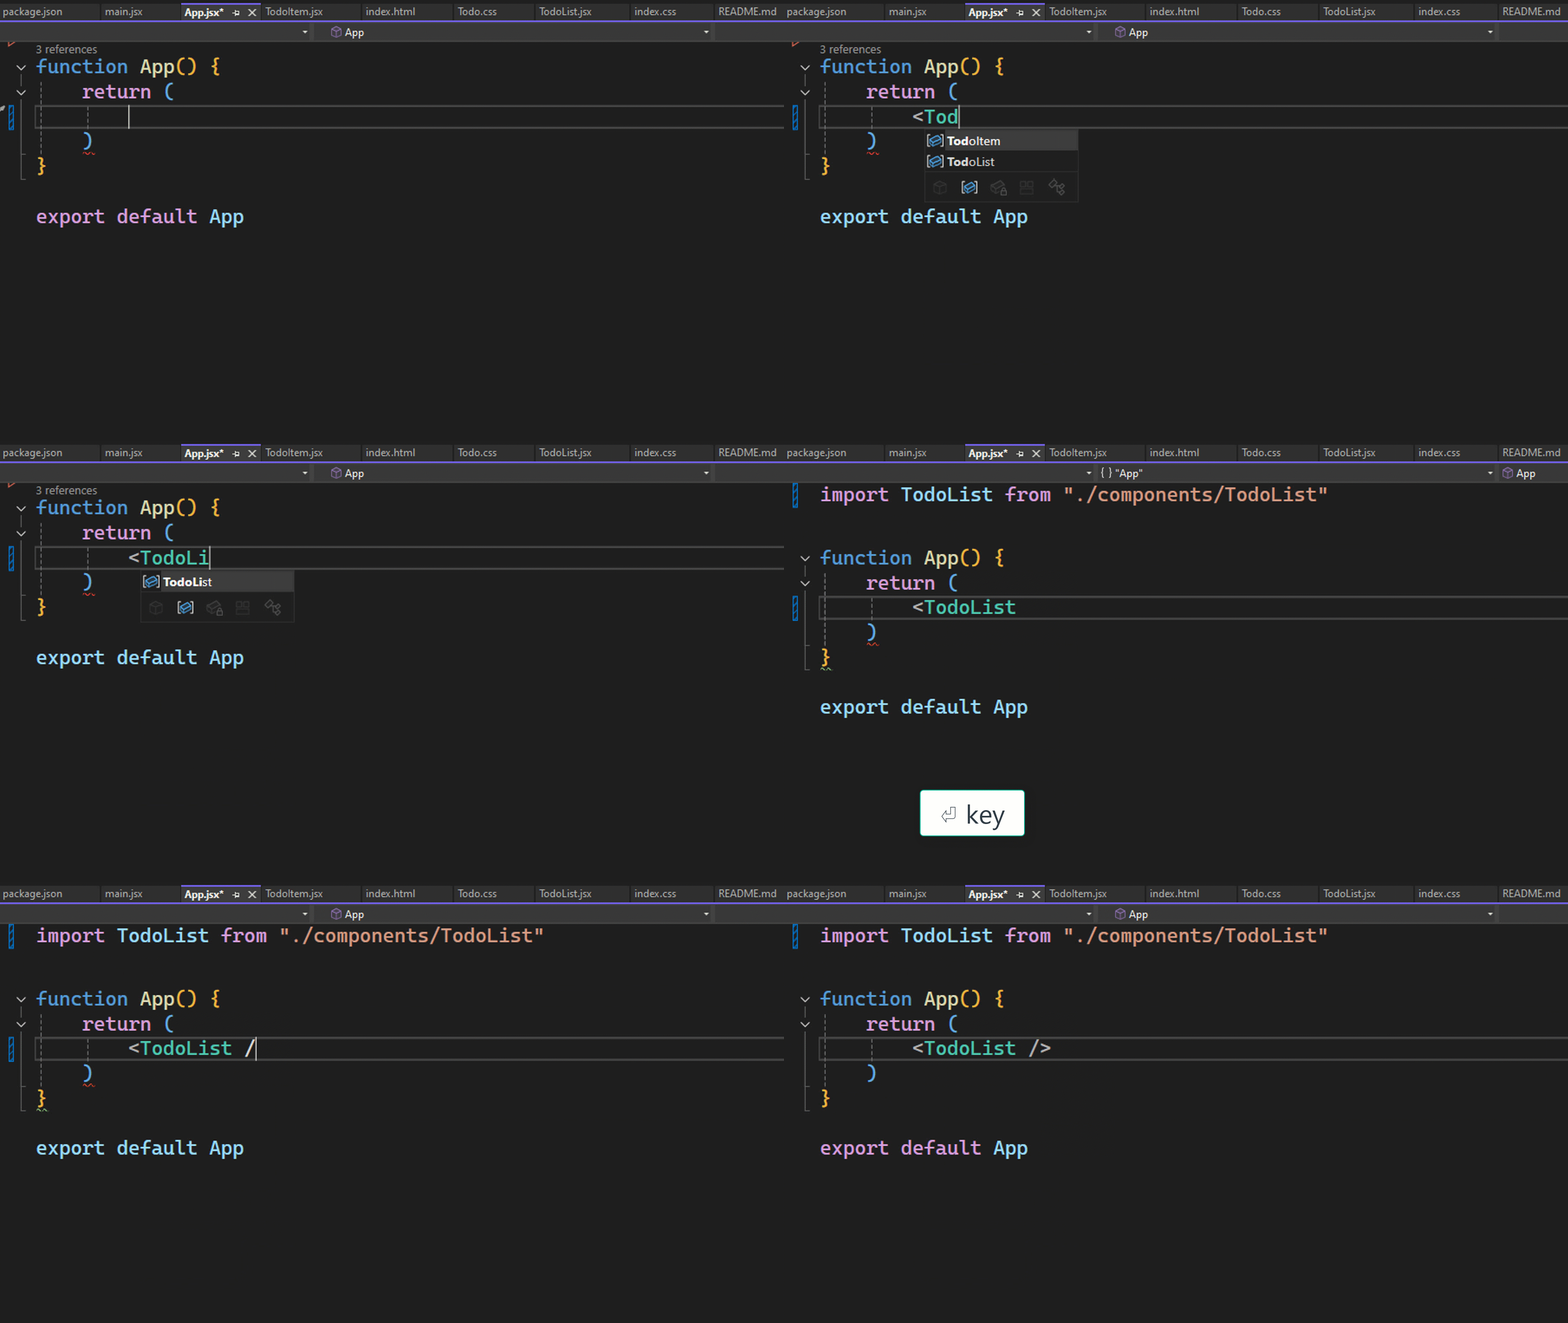
Creating Your First TODO Component
The Basics of React Components
Components are the building blocks of a React application. Each component is a JavaScript function or class that optionally accepts inputs i.e., properties (props) and returns a React element.
Step 1: Creating a TODO Item Component
- Create a new file in the src/components directory named
TodoItem.js.
import React from 'react';

function TodoItem({ todo, index, markComplete }) {
return (

{todo.text}
 markComplete(index)}>Complete

);
}

export default TodoItem;
Step 2: Creating the Main TODO List Component
- Create another file in the src/components directory named
TodoList.js.
import React, { useState } from 'react';
import TodoItem from './TodoItem';

function TodoList() {
const [todos, setTodos] = useState([
{ text: 'Learn React', isCompleted: false },
{ text: 'Build a TODO App', isCompleted: false }
]);

const markComplete = index => {
const newTodos = [...todos];
newTodos[index].isCompleted = true;
setTodos(newTodos);
};

return (

{todos.map((todo, index) => (

))}

);
}

export default TodoList;
Integrating Components into the Main Application
Step 1: Editing App.js
- Open
src/App.jsand import the TodoList component.
import React from 'react';
import './App.css';
import TodoList from './components/TodoList';

function App() {
return (

React TODO App


);
}

export default App;
Step 2: Styling Your App
- Edit
src/App.cssto add basic styles.
.App-header {
background-color: #282c34;
min-height: 100vh;
display: flex;
flex-direction: column;
align-items: center;
justify-content: center;
font-size: calc(10px + 2vmin);
color: white;
}

button {
background-color: #61dafb;
border: none;
padding: 10px;
margin: 5px;
cursor: pointer;
}

button:hover {
background-color: #21a1f1;
}
Running Your Application
- Open a terminal window and navigate to your project directory.
- Run:
npm startYour application should now be running locally at http://localhost:3000.
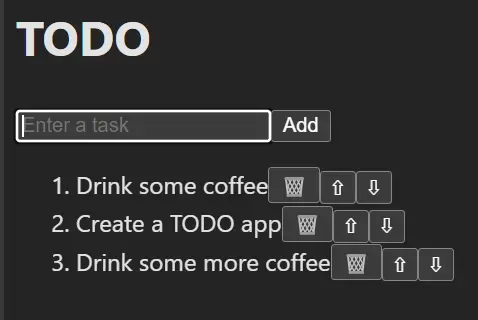
Conclusion
Congratulations! You’ve successfully created a TODO app using React and Visual Studio 2022. This project provided a hands-on introduction to React components, state management, and styling in a Visual Studio environment. With these basics, you’re well on your way to building more complex applications.
Frequently Asked Questions (FAQs)
How to create a React TODO app in Visual Studio 2022?
First, install Node.js and Visual Studio 2022. Initialize your project using npx create-react-app and write React components to build your TODO application.
What are the steps to set up a React project in Visual Studio 2022?
- Open Visual Studio 2022.
- Create a new project using the React template.
- Initialize your project with
npx create-react-app. - Add your components and run the application.
How can I add components to a React project in Visual Studio 2022?
Create new JavaScript files for each component, then import and use them in your main application file, typically App.js.
How do I style a TODO app in React?
You can use plain CSS, CSS-in-JS libraries like styled-components, or pre-processors like Sass. In this tutorial, we used basic CSS for styling.
What are the benefits of using Visual Studio 2022 for React development?
It provides an integrated environment with powerful debugging tools, Git support, code snippets, and extensions tailored for front-end development.
#MSFTAdvocate #AbhishekDhoriya #LearnWithAbhishekDhoriya #DynamixAcademy
References & Read More:
- Mastering Debugging with Visual Studio 2022: An In-Depth Guide to Breakpoint Groups
- A Comprehensive Beginner’s Guide to Visual Studio Pull Requests: Simplifying Code Collaboration
- How to Open a New Record Form with Pre-populated Fields in Microsoft Dynamics 365 Using Xrm.Navigation.navigateTo?
- Understanding and Removing Contact and Customer Validation on Cases in Dynamics 365
- Demystifying Associated Grid Control in Dynamics 365: A Comprehensive Guide for Beginners
5 thoughts on “Creating a React TODO App in Visual Studio 2022: A Complete Beginner’s Guide”