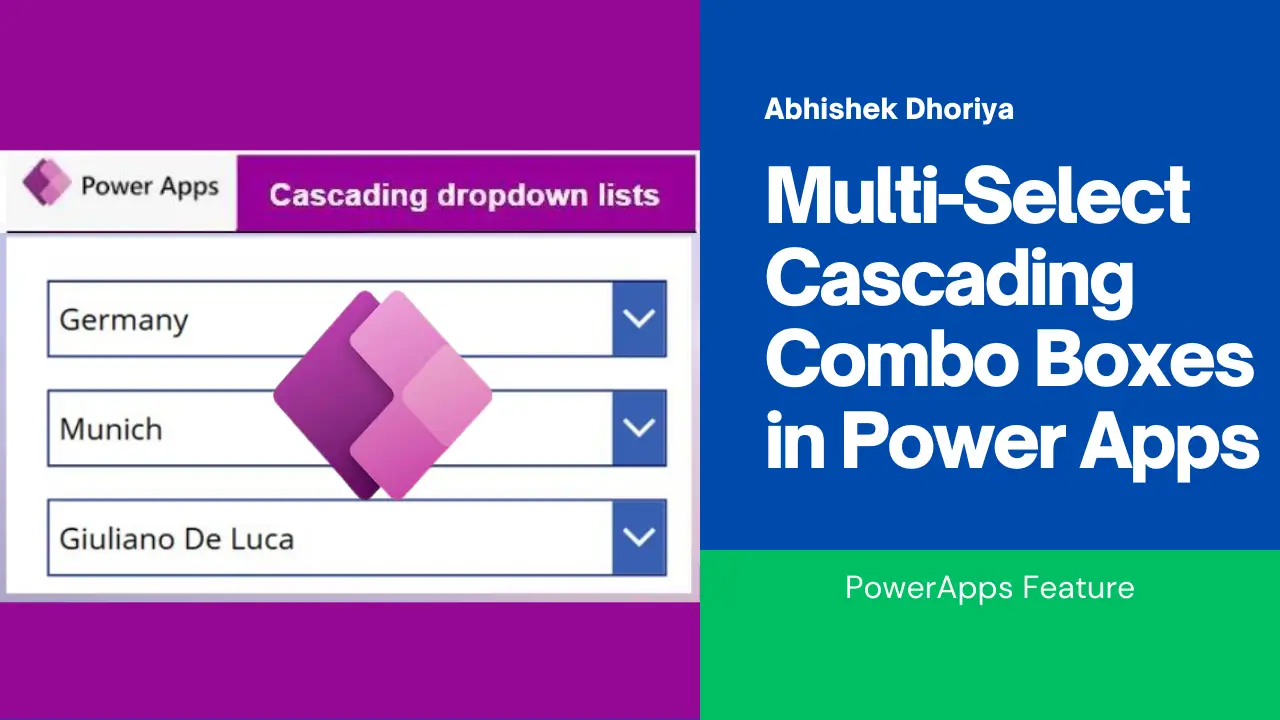
Power Apps is a powerful tool for creating custom business applications with minimal coding. One of the nifty features you can incorporate into your Power Apps is a multi-select cascading combo box. This step-by-step guide will help you understand what multi-select cascading combo boxes are, why you might need them, and how to implement them in your Power Apps.
What is a Multi-Select Cascading Combo Box?
A multi-select cascading combo box is an interactive dropdown menu that allows users to select multiple items. As selections are made in one combo box, the options in subsequent combo boxes are filtered and displayed based on the previous selections.
For example, in a cascading combo box setup, selecting a country in the first combo box will filter and show only the relevant states in the second combo box. If your users need to make multiple selections, the multi-select feature comes in handy.
Why Use Multi-Select Cascading Combo Boxes?
Improved User Experience
Using cascading combo boxes can drastically improve the user experience by simplifying form filling. Users will only see relevant options based on their previous selections, reducing the time and effort required to find specific items.
Enhanced Data Accuracy
This feature ensures that the data entered is more accurate and relevant. Users are less likely to make mistakes because they are guided through a logical and structured selection process.
Flexibility and Customization
Power Apps allows you to customize cascading combo boxes to fit your specific needs, making your application more versatile and powerful.
Prerequisites
Before diving into the steps, make sure you have the following:
- A Power Apps subscription
- Basic understanding of Power Apps interface
- A data source (like SharePoint, Excel, or SQL Server) that contains hierarchical data
How to Create Multi-Select Cascading Combo Boxes in Power Apps
Step 1: Set Up Your Data Source
First, you need to have a data source that contains the hierarchical data. For our example, let’s assume we have a SharePoint list with the following columns:
- Country
- State
- City
Make sure your data source is formatted appropriately and connected to your Power Apps application.
Step 2: Insert Combo Boxes
- 1. Open your Power Apps application.
- 2. Insert three combo box controls by navigating to **Insert > Controls > Combo Box**.
Step 3: Rename Combo Boxes
For better clarity, rename your combo boxes to `cbxCountry`, `cbxState`, and `cbxCity`.
Step 4: Setting Up the Country Combo Box
- Select `cbxCountry`.
- In the Items property, enter the formula:
- Distinct(DataSource, Country)
This formula ensures that the combo box shows unique country names.
Step 5: Setting Up the State Combo Box
- Select `cbxState`.
- In the Items property, enter the formula:
- Distinct( Filter(DataSource, Country = cbxCountry.Selected.Value), State)
This formula filters the states based on the selected country.
Step 6: Setting Up the City Combo Box
- Select `cbxCity`.
- In the Items property, enter the formula:
- Distinct( Filter( DataSource, Country = cbxCountry.Selected.Value && State = cbxState.Selected.Value ), City)
This formula filters the cities based on the selected state and country.
Step 7: Enabling Multi-Select
To enable multi-select for each combo box:
- Select the desired combo box (e.g., `cbxCountry`).
- In the Properties pane, set the SelectMultiple property to `true`.
- Repeat this step for each combo box.
Tips and Best Practices
Use Clear Labels
Make sure to label each combo box clearly so users know what selections to make.
- Example: \”Select Country\”, \”Select State\”, \”Select City\”.
Validate User Selections
Use validation formulas to ensure that users make selections in the proper order and don’t leave any fields empty.
Optimize Performance
Large data sets can slow down your app. Consider optimizing your data source for better performance, like indexing columns in SharePoint or using SQL queries more efficiently.
Conclusion
Creating a multi-select cascading combo box in Power Apps is a great way to improve user experience and ensure data accuracy. By following these steps, you can easily implement this feature in your applications, making them more efficient and user-friendly.
Frequently Asked Questions (FAQs) about Multi-Select Cascading Combo Boxes in Power Apps
Q1: Can I use multiple data sources for cascading combo boxes?
A1: Yes, you can use multiple data sources. You will need to ensure the data is properly related and use appropriate filtering formulas.
Q2: What if my data source changes frequently?
A2: Power Apps can handle dynamic data. Make sure your formulas reference the updated data source properly. Test your app regularly to ensure it still functions as expected.
Q3: How do I handle large data sets?
A3: For large data sets, consider using delegation-friendly formulas and optimizing your data sources for performance.
Q4: Can I style the combo boxes?
A4: Yes, Power Apps allows you to customize the look and feel of combo boxes including colors, fonts, and more through the styling properties.
Enjoy building more effective forms with cascading combo boxes in Power Apps!
#MSFTAdvocate #AbhishekDhoriya #LearnWithAbhishekDhoriya #DynamixAcademy
References & Read More
- Power Platform Community Forum Thread for more information
- Unlocking the Future: 2024 Release Wave 2 Plans for Microsoft Dynamics 365 and Microsoft Power Platform
- Set Your Power App as the Startup App on Mobile: Unlock Efficiency
- Dynamics 365 Interview Questions and Answers for Experienced and Freshers
- Entity Ownership in Dynamics 365 CRM Interview Questions and Answers
- Unlock the Power of Model-Driven Apps: A Beginner’s Guide to openAlertDialog in Dynamics 365
- Unlocking the Future: How Microsoft’s AI-Powered Tools are Revolutionizing Scientific Discovery

6 thoughts on “Mastering Multi-Select Cascading Combo Boxes in Power Apps: A Comprehensive Step By Step Guide 2024”