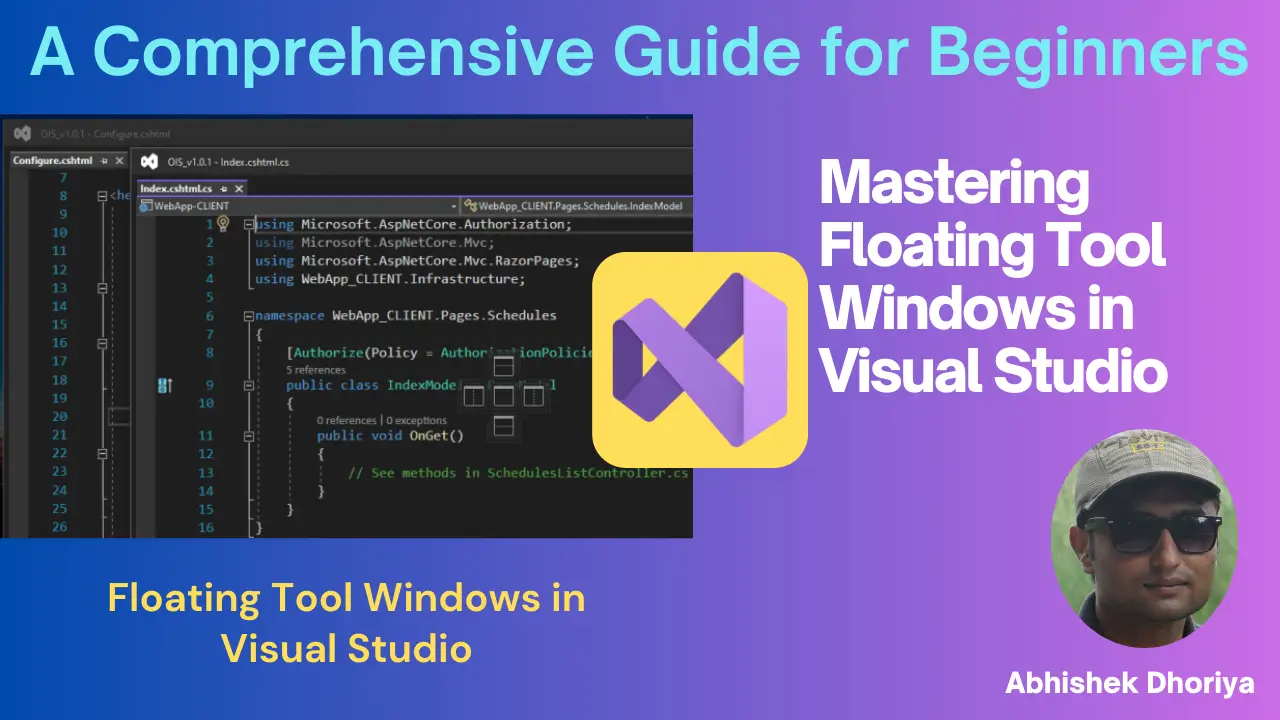
Floating Tool Windows in Visual Studio
Visual Studio is a powerful development environment that offers various customizable windows for an efficient workflow. This detailed guide explains what floating tool windows are and how they can enhance your productivity. Learn the ins and outs of managing these windows, with tips and shortcuts to keep your workspace organized and efficient.
Introduction to Floating Tool Windows
If you’ve just started using Visual Studio, you might have heard about floating tool windows but aren’t totally sure what they are or how to use them. Worry not; you’re in the right place! This guide will walk you through everything you need to know about floating tool windows in Visual Studio. Think of it as a tour through your newly renovated workspace, but instead of walls and furniture, we’re dealing with code editors and debugging panels.
What is a Tool Window in Visual Studio?
Before diving into floating tool windows, let’s first understand what a tool window is. In Visual Studio, a tool window is essentially a section of the interface that provides various tools and options for development tasks. Some common tool windows include the Solution Explorer, Properties, Output, and Error List.
Docking vs. Floating Tool Windows
Docking Tool Windows
When a tool window is docked, it is anchored to one of the edges of the Visual Studio interface. This makes it part of the main window layout, offering easy access while you code. To dock a tool window, simply drag it to the edge where you want it docked until you see a blue outline.
Floating Tool Windows
Floating tool windows are not anchored to the main interface. Instead, they are separate and can be freely positioned anywhere on your screen, even on a second monitor. To float a tool window, just drag it away from the anchored position until it becomes a standalone window.
How to Dock and Float Tool Windows in Visual Studio?
How to Dock a Tool Window?
- Click and Hold: Click on the title bar of the tool window.
- Drag and Drop: Drag the window to the desired docking position until you see a blue highlight.
- Release: Release the mouse button to dock the window.
How to Float a Tool Window?
- Click and Hold: Click on the title bar of the tool window.
- Drag and Drop: Drag the window away from the docking area.
- Release: When it becomes a standalone window, release the mouse button.
Visual Studio Debugging with Tool Windows
Debugging becomes easier when you have a well-organized layout. Here are some tips:
- Floating Windows for Key Tools: Move essential debugging windows like ‘Watch’, ‘Immediate Window’, and ‘Call Stack’ to a second monitor as floating windows.
- Dock Secondary Tools: Dock less frequently used windows like ‘Breakpoints’ or ‘Output’ to the main interface. This frees up space while keeping necessary tools within reach.
Tips for Tool Window Management
- Ctrl + Double-Click Shortcut: Quickly float or dock a tool window by holding the
Ctrlkey and double-clicking the title bar. - Reset Layout: If your layout gets chaotic, use Window > Reset Window Layout to restore the default setup.
- Custom Layouts: Save your custom layouts by going to Window > Save Window Layout for different workflows like coding, debugging, and testing.
- Auto-Hide: Auto-hide windows you don’t always need by clicking the pin icon on the title bar. They will then slide in and out as needed.
Tables for Quick Reference
| Action | Method |
|---|---|
| Dock Tool Window | Drag to edge until blue outline appears |
| Float Tool Window | Drag away from the docking area |
| Reset Window Layout | Window > Reset Window Layout |
| Save Custom Layout | Window > Save Window Layout |
| Auto-Hide Tool Window | Click pin icon on title bar |
| Ctrl + Double-Click | Float/Dock window by holding Ctrl and double-clicking the title bar |
Conclusion
Mastering the art of floating and docking tool windows in Visual Studio can significantly enhance your productivity and make your coding sessions more enjoyable. Following the tips and tricks laid out in this guide will help you maintain an organized, efficient, and smooth development environment tailored to your specific needs. Happy coding!
Frequently Asked Questions (FAQs)
How to dock a tool window in Visual Studio?
Click and hold the title bar of the tool window, drag it to the desired docking position until a blue highlight appears, and release.
How to float a tool window in Visual Studio?
Click and hold the title bar of the tool window, drag it away from the docking area, and release when it becomes a standalone window.
Can I undo dragging a tool window in Visual Studio?
Yes, you can simply drag it back to its original position or use the Window > Reset Window Layout option.
What is the Ctrl + double-click shortcut for tool windows in Visual Studio?
Holding down Ctrl and double-clicking the title bar of a tool window allows you to quickly float or dock it.
How do I manage tool windows during debugging in Visual Studio?
Float essential debugging windows to a second monitor and dock less frequently used ones to maintain an organized workspace.
#MSFTAdvocate #AbhishekDhoriya #LearnWithAbhishekDhoriya #DynamixAcademy
References & Read More:
- Unlocking the Power of GitHub Copilot in Visual Studio 2022
- How AI Enabled ERP Platforms Revolutionize Business Operations?
- Effortlessly Configure Site.Selected API Permissions in SharePoint Online: A Beginner’s Guide 2024
- Understanding and Fixing the Connect-PnPOnline PowerShell Error: A Beginner’s Guide

1 thought on “Mastering Floating Tool Windows in Visual Studio: A Comprehensive Guide for Beginners”